# Steam transport setup
Greetings!
So you want to make a multiplayer Steam game, and you're looking to get started with PurrNet? You've come to the right place! My name is [Judsin](https://github.com/Spell-Bound-Studios), and I'm going to show you how to connect with your friends over Steam so that you can get started testing your game today! I will do my best to be extremely clear and provide you with screenshots every step of the way. Before we begin, let's clarify what this document is and is not below:
#### This is:
✔️ A guide on how to use the Steam Transport\
✔️ A resource for how you can leverage PurrNet and Heathens to connect with your friends in Unity over Steam
#### This is not:
❌ A guide on how to use a lobby\
❌ A guide on how to use Steamworks.NET\
❌ A guide on how to test steam connections on a single machine
**Additional Remarks:** As a solo developer, it is often challenging to test on Steam as it requires two Steam accounts. There are many different ways to do this solo, but for the sake of this guide, I am going to assume that you have a friend or teammate that can help you test.
## Getting Started
This guide is being written using the following:
* Unity 6002.2.6f1
* PurrNet 1.15.0
* Heathen's Toolkit for Steakworks 2025
* Steam installed and running
For PurrNet installation instructions please reference the [installation guide](https://purrnet.gitbook.io/docs/getting-started/installation-setup). If you aren't familiar with Heathen's Toolkit for Steakworks SDK I highly recommend checking it out if you're serious about using Steam—it just makes your life easier. If you don't want to use Heathen's, then the script example I show won't work out of the box for you, but the majority of this guide will still be helpful. We will install Heathen's Toolkit at the end of this guide to ensure that everyone can follow along until then.
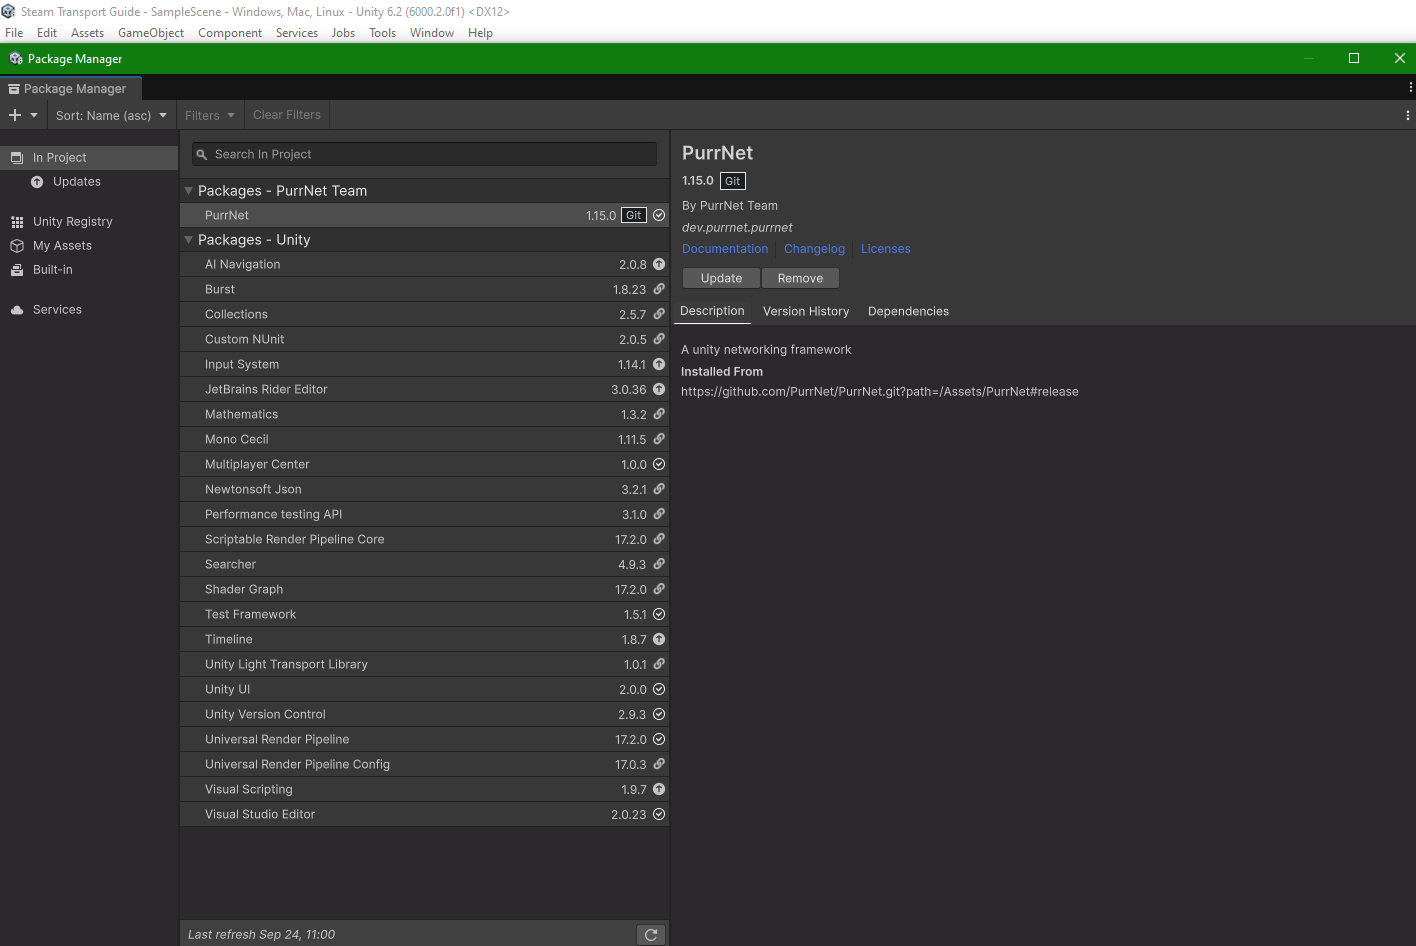
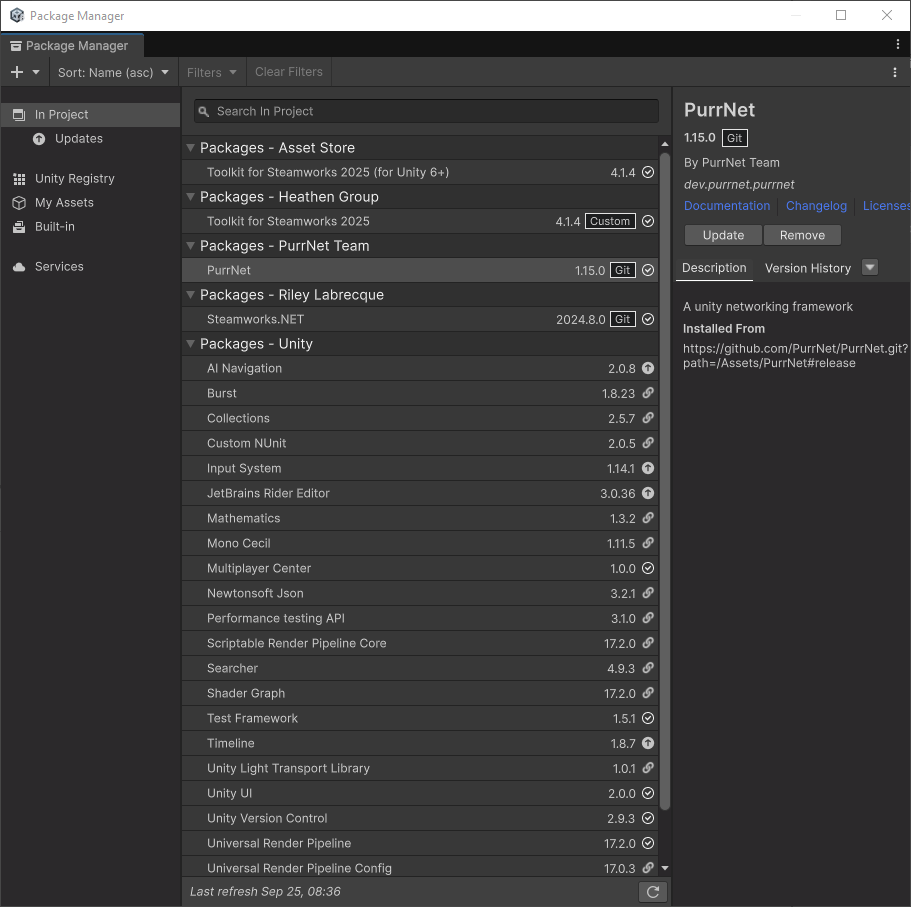
For reference, my Package Manager looks like the following after PurrNet installation:
### Step 1 Create the Scene:
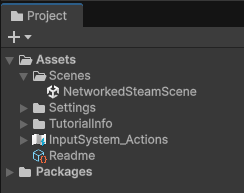
This is a fresh project, so I'm going to start by creating a new scene and putting it in the Assets/Scenes folder. I will call this scene "NetworkedSteamScene" and I will delete the "SampleScene" already in the folder:
Open the scene:
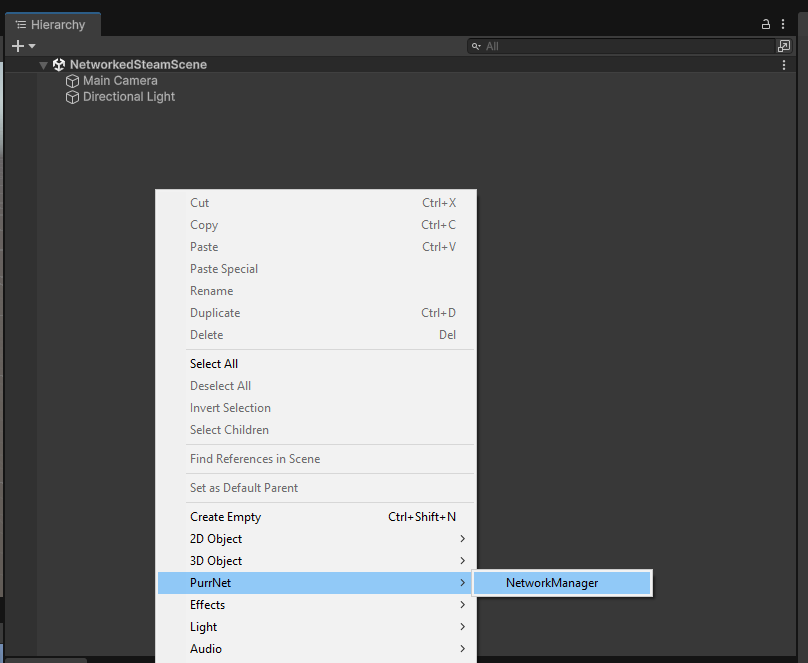
### Step 2 Create the NetworkManager:
Right-click anywhere in the Hierarchy and go to PurrNet → NetworkManager:
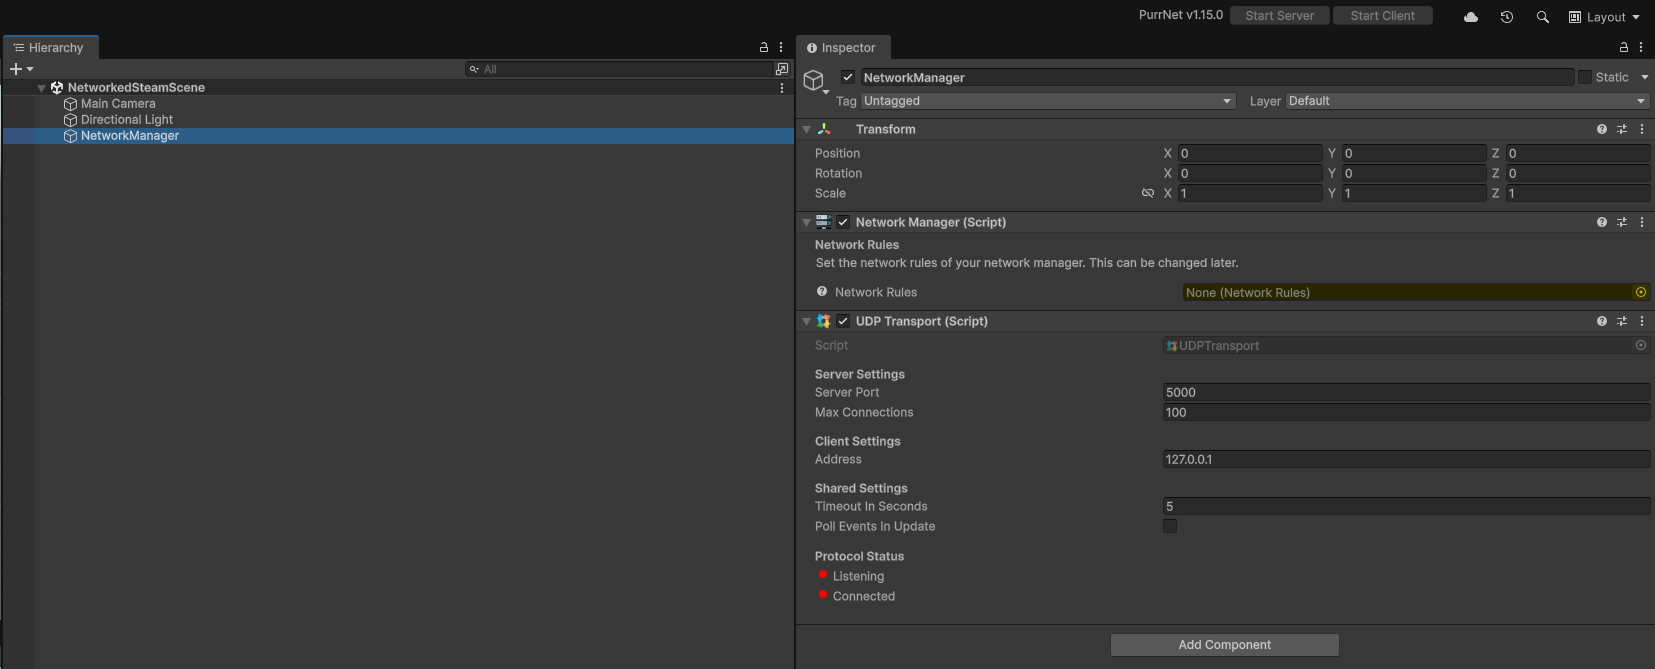
### Step 3 Configure the GameObject:
Click on the newly created PurrNet GameObject and feel free to name it whatever you want; I prefer "NetworkManager":
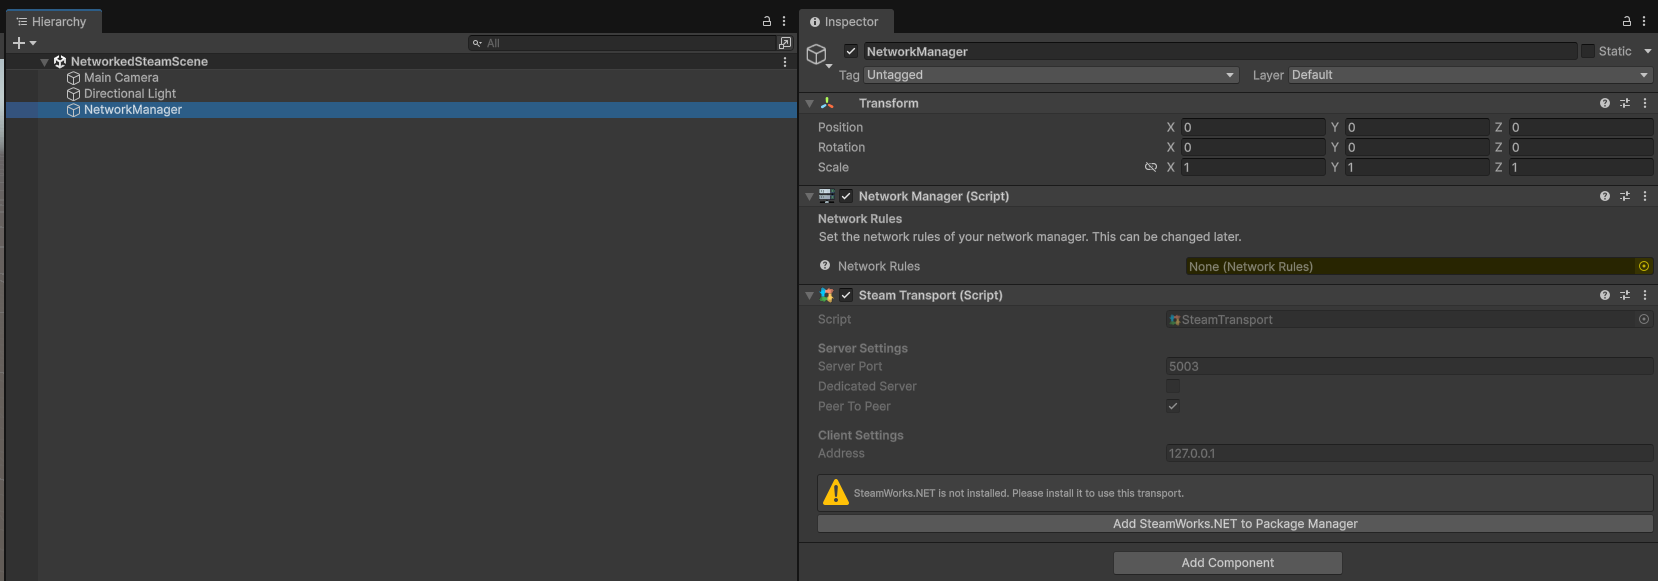
Remove the UDP Transport and add the Steam Transport:
If you want to know more about the Steam Transport, please reference [Steam Transport](https://purrnet.gitbook.io/docs/systems-and-modules/transports/steam-transport).
Now click "Add SteamWorks.Net to Package Manager" on the Steam Transport component—this will add Steamworks.NET to your project. If this gives you an error, please make sure you have git installed on your machine.
If this works correctly, then your setup should look like this:
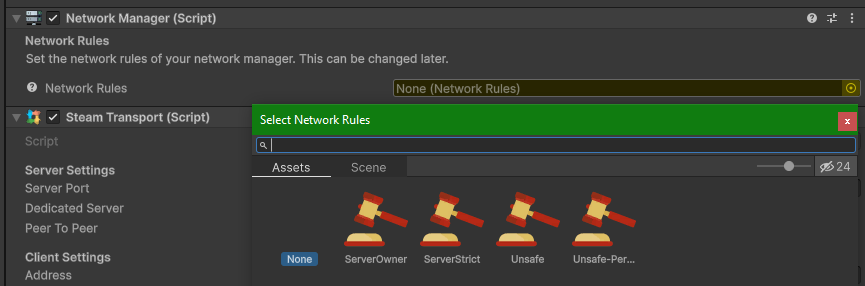
Let's add the [Network Rules](https://purrnet.gitbook.io/docs/systems-and-modules/network-manager/network-rules) to the Network Manager component by clicking the target icon and add the default rules:
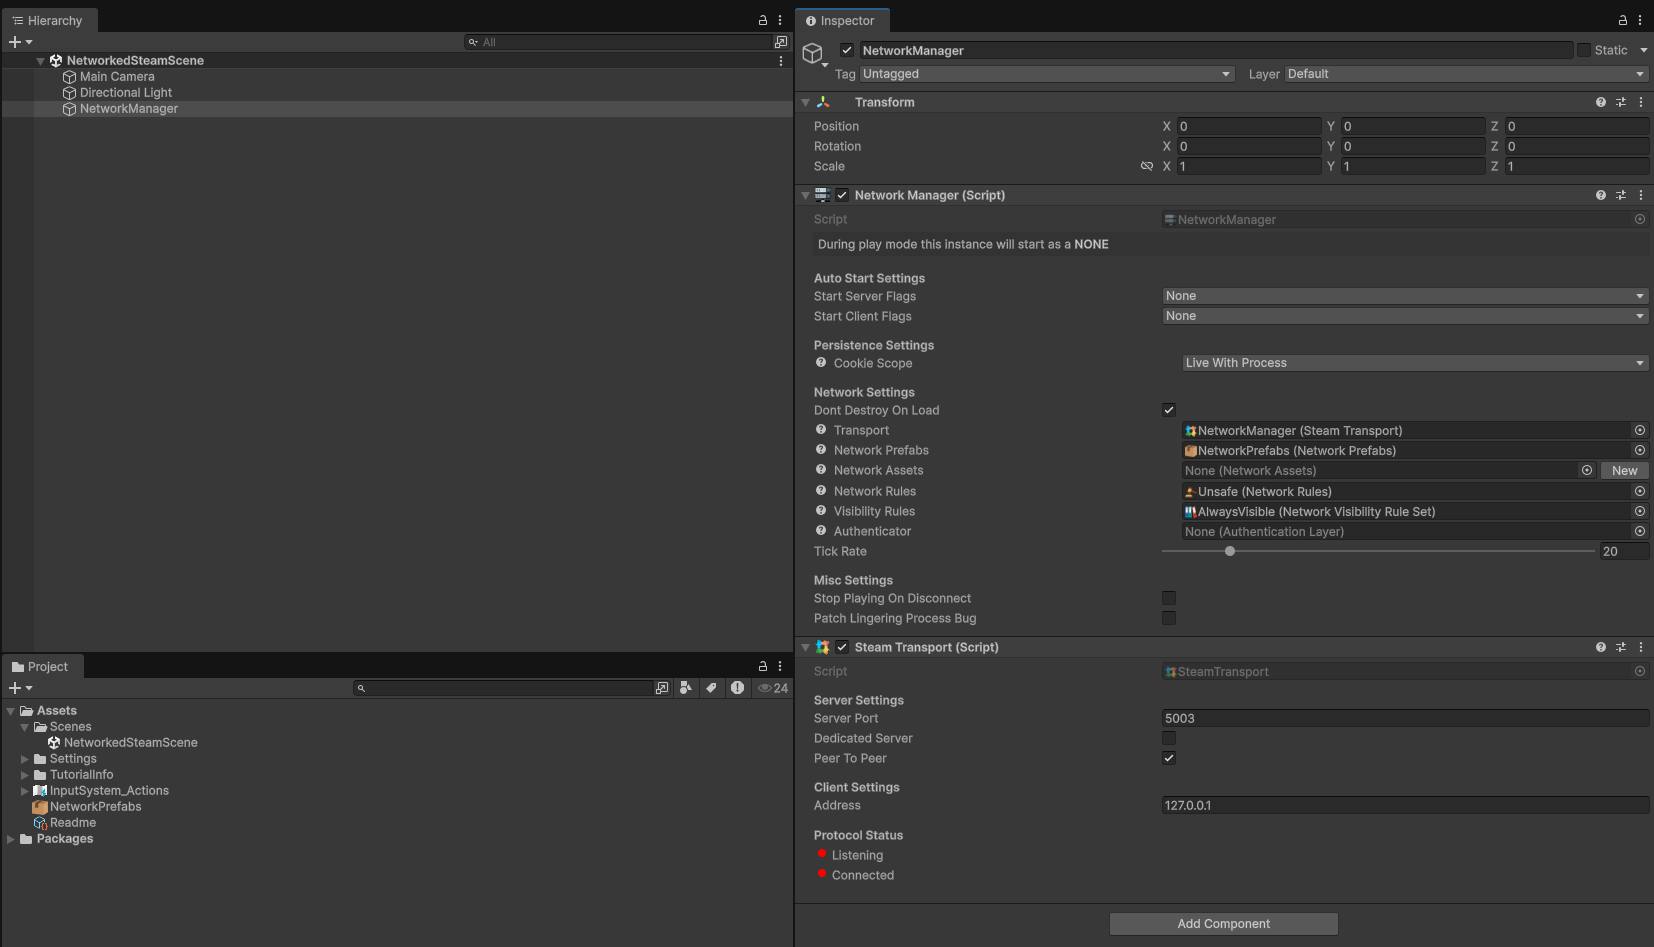
Select the "Unsafe" rules for now if you don't know what these are and just want to get Steam working. Doing so will make the NetworkManager look like this:
Let's configure our NetworkManager to look like this:
### Step 4 Script Setup:
This step is where we will use Heathen's Toolkit for Steamworks to make our lives easier. If you don't have this package, the code below will still be useful to you. I will comment what is a Heathen's API call so that you know what parts you need to go solve with whatever Steamworks API wrapper you're using. Now let's install Heathen's Toolkit for Steamworks. Below is a screenshot of my PackageManager:
First things first, we need to create a Steam Settings object. You can skip this part if you don't have Heathens. Below is a copy and paste from the Heathen's website on how to do this:
Open your Project Settings and select Player > Steamworks
When you first do this, it will create a SteamMain Steam Settings object in your project's Settings folder.
You can optionally add a Demo setting and as many Playtest settings as you would like. All of them will be added to the Settings folder in their own Steam Settings object.
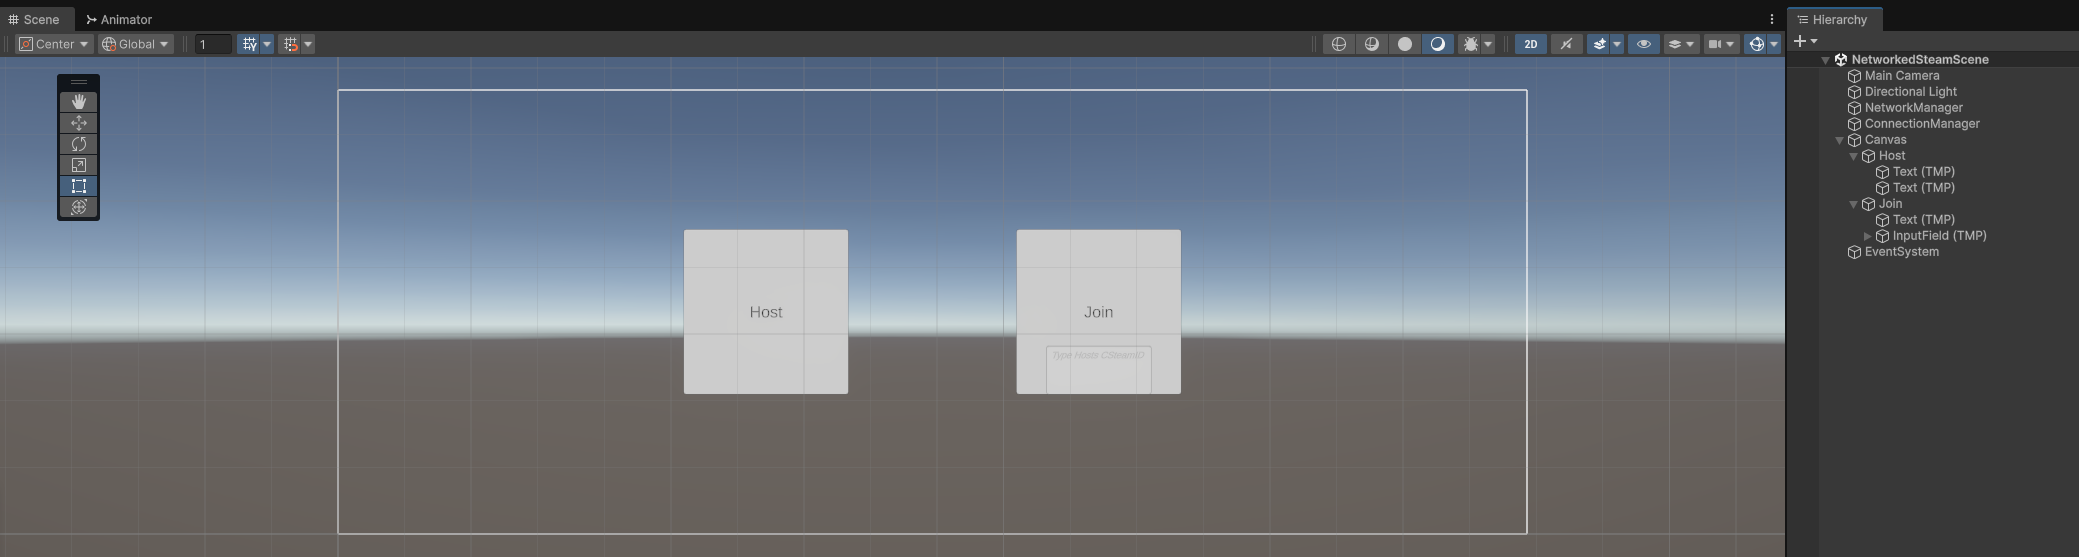
Next, let's add a canvas with a Host and Join button as well as a text field to display the Host ID (that only the host will see) and a text input field that the client can type in. This prompted me to install TextMesh Pro so I installed it:
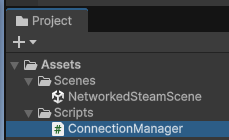
Next, let's create a script to handle the connection to Steam. Create a new script called "ConnectionManager" and put it in your scripts folder.
Below is a loose way of structuring your code but one that should give you some insight and intuition on how to adapt it to your game. It looks long, but I promise it's really only two methods—I just tried to make it as clear as possible.\\
```csharp
using Heathen.SteamworksIntegration;
using PurrNet;
using PurrNet.Steam;
using TMPro;
using UnityEngine;
using UnityEngine.UI;
namespace SteamExample {
///
/// The purpose of this class is to manage the host and the clients connection to the Steam server. It must live
/// on a GameObject in the scene that is connecting to the Networked Scene. If you only have one scene, then it
/// lives in that scene.
///
///
/// I have partitioned the StartHost() and the StartClient() methods to try to make them extremely clear. You are
/// free to refactor them into the same method or structure them however you like. This is by no means a one-size
/// fits all solution; but instead, an example of how you might leverage PurrNet and Heathen.SteamworksIntegration
/// together to connect with your friends on steam.
///
public sealed class ConnectionManager : NetworkIdentity {
// Be sure to drag and drop each element if you're copying this directly into your project.
[SerializeField] private SteamSettings steamSettings;
[SerializeField] private Button hostButton;
[SerializeField] private Button clientButton;
[SerializeField] private TMP_Text hostTextField;
[SerializeField] private TMP_InputField clientInputField;
private void Awake() {
InstanceHandler.RegisterInstance(this);
DontDestroyOnLoad(this);
InitializeSteam();
}
private void OnEnable() {
hostButton?.onClick.AddListener(HandleHostClicked);
clientButton?.onClick.AddListener(HandleClientClicked);
}
private void OnDisable() {
hostButton?.onClick.RemoveListener(HandleHostClicked);
clientButton?.onClick.RemoveListener(HandleClientClicked);
}
protected override void OnDestroy() {
base.OnDestroy();
InstanceHandler.UnregisterInstance();
}
///
/// The purpose of this method is to initialize Steam.
///
///
/// Am I wrapping a single method? Yes. But you may want to do more things here for whatever reason if you're
/// making a steam game! So again, this is just an example, feel free to refactor to fit your needs.
///
public void InitializeSteam() {
steamSettings.Initialize();
}
///
/// This method is responsible for calling PurrNet's StartHost() method. It also gets and configures the
/// SteamTransport. It also leverages a UserData struct from Heathens to store the Steam account ID of the host.
///
///
/// Feel free to make this method public or private depending on your need. Steam must be initialized before
/// this method is called.
///
public void StartHost() {
var steamTransport = NetworkManager.main.transport as SteamTransport;
if (steamTransport == null) {
Debug.LogError("SteamTransport missing on NetworkManager", this);
return;
}
// This is a Heathens API call.
var user = UserData.Get();
steamTransport.peerToPeer = true;
steamTransport.dedicatedServer = false;
steamTransport.address = user.id.ToString();
NetworkManager.main.StartHost();
}
///
/// This method is responsible for calling PurrNet's StartClient() method. It also gets and configures the
/// SteamTransport. It also leverages a UserData struct from Heathens to store the Steam account ID of the host.
///
///
/// Feel free to make this method public or private depending on your need. Steam must be initialized before
/// this method is called.
///
public void StartClient(string steamCode) {
var steamTransport = NetworkManager.main.transport as SteamTransport;
if (steamTransport == null) {
Debug.LogError("SteamTransport missing on NetworkManager", this);
return;
}
if (string.IsNullOrEmpty(steamCode)) {
Debug.LogError("Connection address is empty.", this);
return;
}
// This is a Heathens API call.
var hostAddress = UserData.Get(steamCode);
if (!hostAddress.IsValid) {
Debug.LogError($"{hostAddress} is an invalid connection address.", this);
return;
}
steamTransport.peerToPeer = true;
steamTransport.dedicatedServer = false;
steamTransport.address = hostAddress.id.ToString();
NetworkManager.main.StartClient();
}
///
/// This method is responsible for calling StartHost() and changing the UI visuals.
///
private void HandleHostClicked() {
if (hostButton == null || hostTextField == null) {
Debug.LogError("Host button or host text field is null. " +
"Please drag and drop it into the ConnectionManager.", this);
return;
}
StartHost();
if (NetworkManager.main.isOffline) {
hostTextField.text = "Server is Offline";
hostButton.image.color = Color.red;
return;
}
hostTextField.text = UserData.Get().HexId;
hostButton.image.color = Color.green;
hostButton?.onClick.RemoveListener(HandleHostClicked);
clientButton?.onClick.RemoveListener(HandleClientClicked);
}
///
/// This method is responsible for calling StartClient() and changing the UI visuals.
///
private void HandleClientClicked() {
if (string.IsNullOrEmpty(clientInputField.text)) {
clientInputField.text = "Please enter the Steam Hex ID of the host.";
clientButton.image.color = Color.red;
return;
}
StartClient(clientInputField.text);
clientInputField.text = $"Connected to {clientInputField.text}";
clientButton.image.color = Color.green;
clientButton?.onClick.RemoveListener(HandleHostClicked);
clientButton?.onClick.RemoveListener(HandleClientClicked);
}
}
}
```
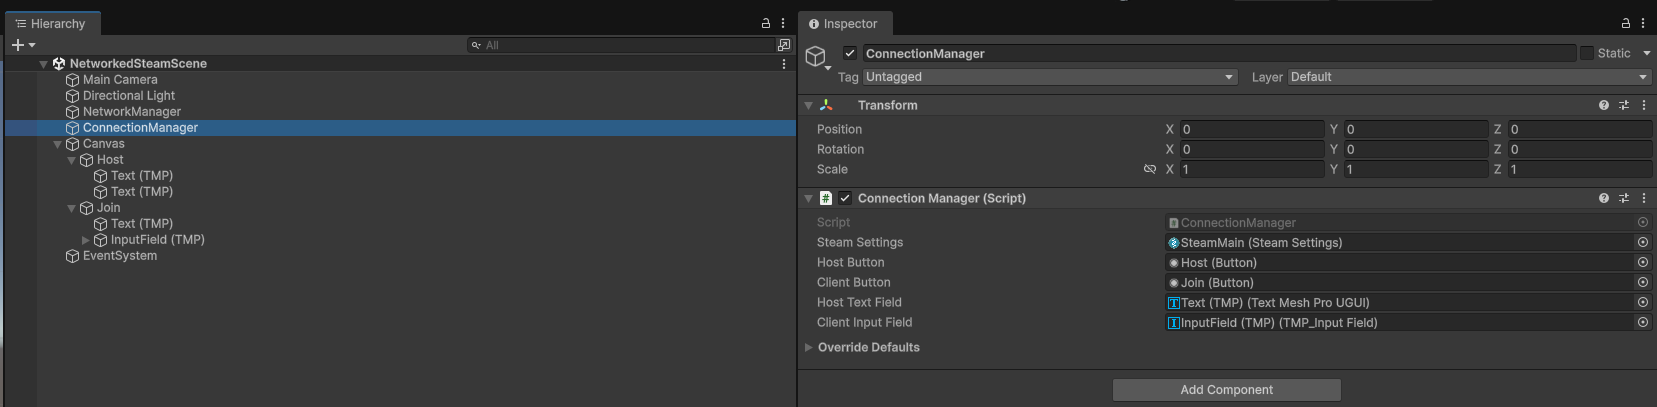
Let's add this script as a component to an empty GameObject in the scene and then drag and drop our Steam settings, buttons, and TMP objects into their SerializedFields.
### Step 5 App ID:
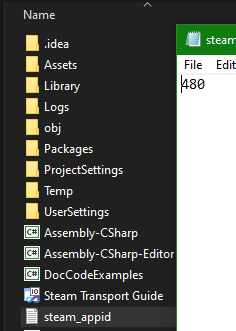
Now that we have our Steam Transport setup, we need to get our App ID. You can get your App ID by going to the [Steamworks Developer Dashboard](https://partner.steamgames.com/dashboard/apps) or if you don't have one, you can use the "480"-app ID (Spacewar) that Steam provides. Open the folder that your project is in and at the root directory create or modify the "steam\_appid.txt" file and place your ID inside and save.
**App ID Remarks:** The 480-app ID is Steams' free app ID for development and testing. When you start your game in Unity, Steam will automatically say that you are playing the game "Spacewar". This is intended and should be used until you register your game with Steam and get an App ID of your own. You can read more about this [here](https://partner.steamgames.com/doc/sdk/api/example)
### Step 6 Testing:
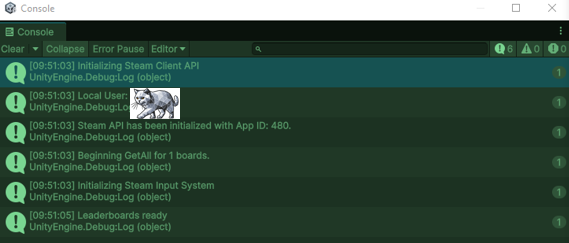
Now that we have everything set up, we can finally test our connection to Steam. Press play, and you should see a series of initialization messages in the console:
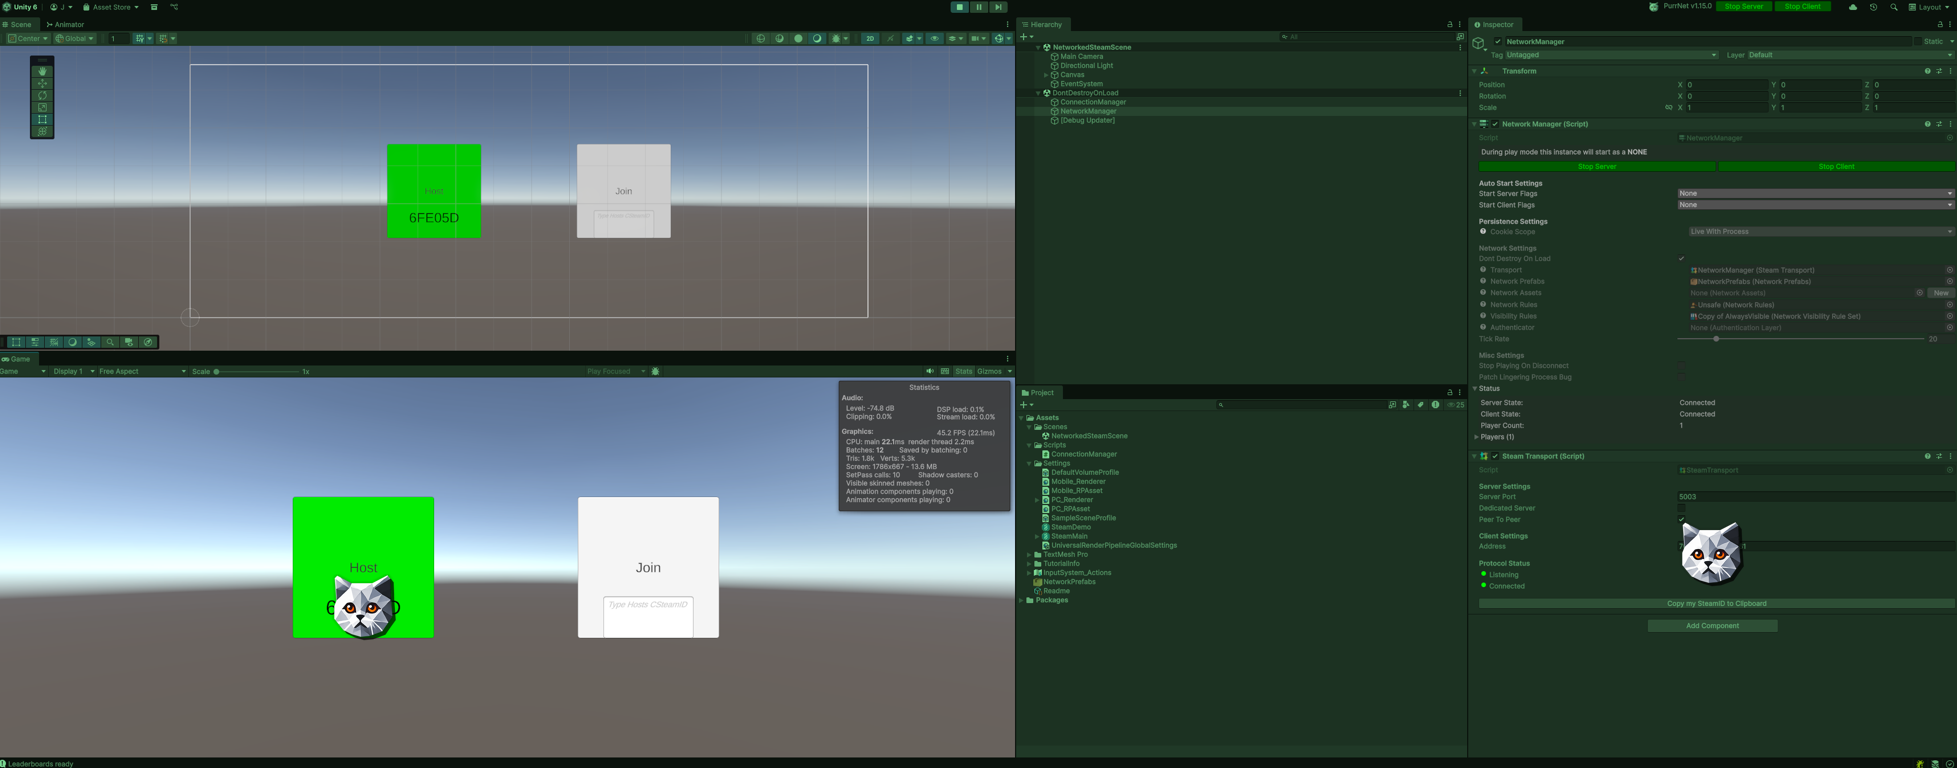
Press the Host button, and you should see your Host ID in the text field if the PurrNet server is running. You can also go click on the NetworkManager and confirm that the player count is 1 and that you're connected:
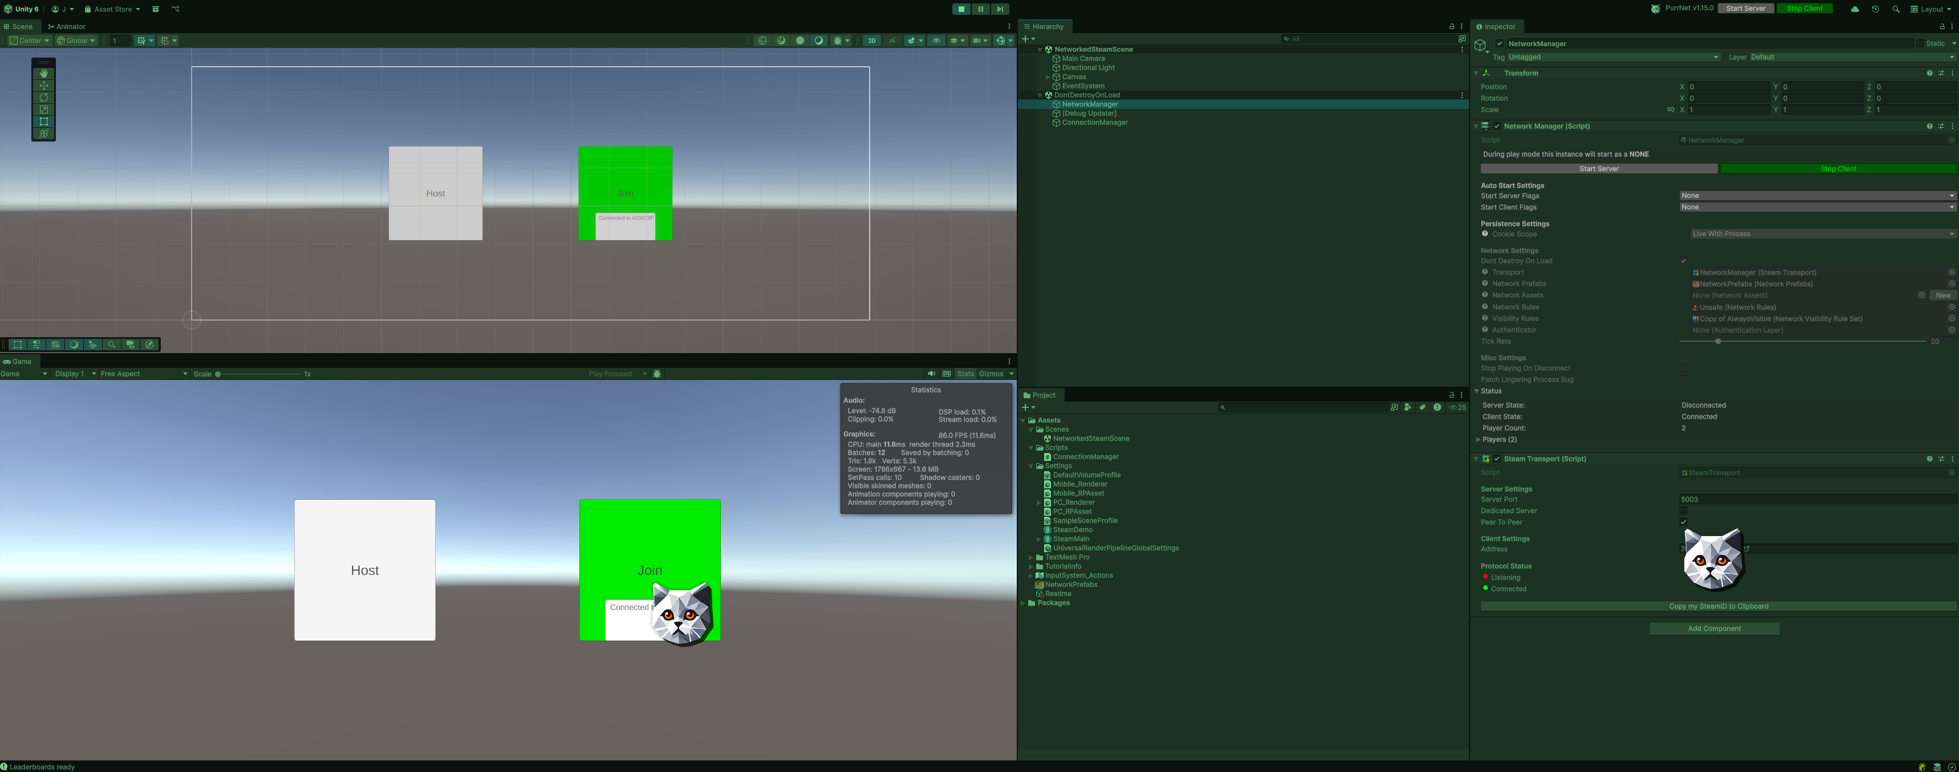
If you are using a friend or teammate to test, have them connect in Unity editor or over a build and provide them with your Host ID. If they connect successfully, their screen will look like this:
Congratulations! You have successfully connected to Steam, and you're ready to continue your journey with multiplayer!
**Concluding Remarks:** Please feel free to ping me in the [PurrNet Community Discord](https://discord.gg/HnNKdkq9ta) if you found this guide helpful or have feedback on how we can improve it. This is certainly not an exhaustive guide, but we hope it helps you get started!
Cheers,
[Judsin](https://github.com/Spell-Bound-Studios)